

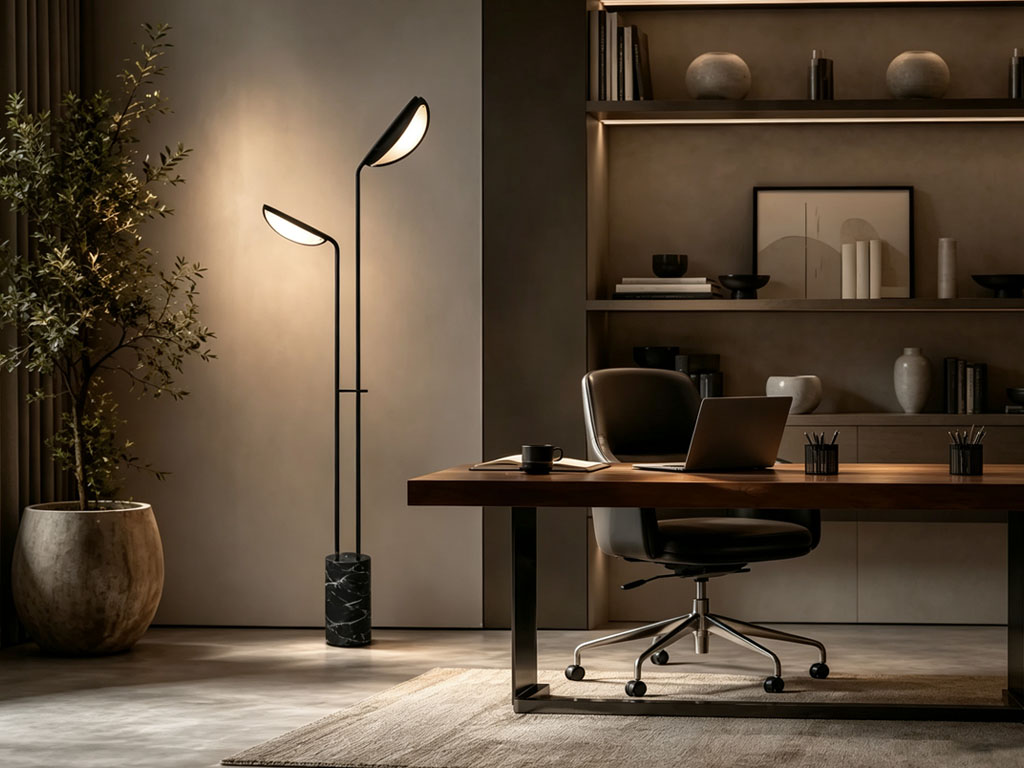

A practical guide to safer movement, clearer tasks, and lower glare at home
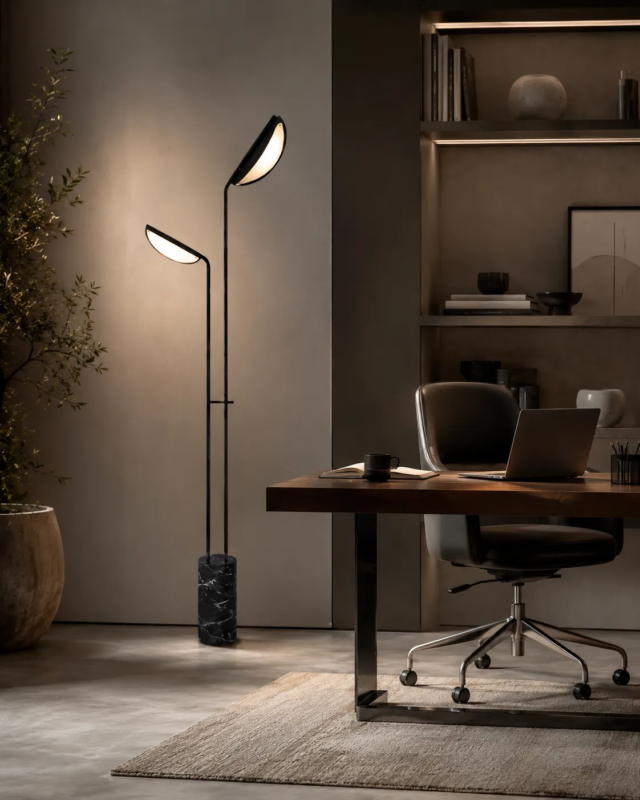
Good lighting does more than make a room brighter. For older adults, it can improve the visibility of edges, faces, written information, steps, and everyday objects while reducing the strain caused by glare and abrupt changes in brightness.
Prepared for Xunlu Lighting | August 2026
Why the Same Room Becomes Harder to See With Age
Aging changes the optical system of the eye. The lens becomes less transparent and scatters more light, the pupil generally becomes smaller, and contrast sensitivity declines. These changes can make dim environments, glossy surfaces, small print, and bright exposed sources more difficult to manage even when standard visual acuity remains acceptable [1][2].
The practical consequence is not simply “use a brighter bulb.” A single high-output source can increase discomfort if it produces a bright point in the field of view or a reflection on a polished countertop. Effective lighting for aging eyes combines sufficient illuminance, controlled luminance, good contrast, uniform transitions, and task-specific positioning.
Four visual changes that matter at home
- Less light reaches the retina. More useful light may be needed for reading, cooking, medication labels, sewing, and other detailed tasks.
- Contrast sensitivity declines. Edges between a step and floor, a white plate and pale counter, or a door handle and wall can be harder to distinguish.
- Glare becomes more disruptive. Light scattered inside the eye can wash out detail around bright sources and reflections.
- Adaptation takes longer. Moving from a bright room into a dark hall can briefly reduce visibility, so smoother transitions are valuable.
Evidence in context. In a home-lighting intervention involving healthy 77-year-olds, improved living-room lighting was associated with better self-reported reading, writing, and performance of daily activities. The researchers optimized the room toward 200 lux general lighting and emphasized low glare, adjustability, and easy-to-use lamps [3]. This is useful evidence, but an individual home still requires measurement and adjustment.
Design Principle 1: Put More Light Where the Task Is
Task lighting raises illuminance on the working surface without forcing the whole room to operate at the same brightness. A movable desk or bedside lamp is especially useful because distance and angle strongly affect the amount of light reaching a page. Bringing a source closer can increase task illuminance while using less power than raising the output of a distant ceiling fixture.
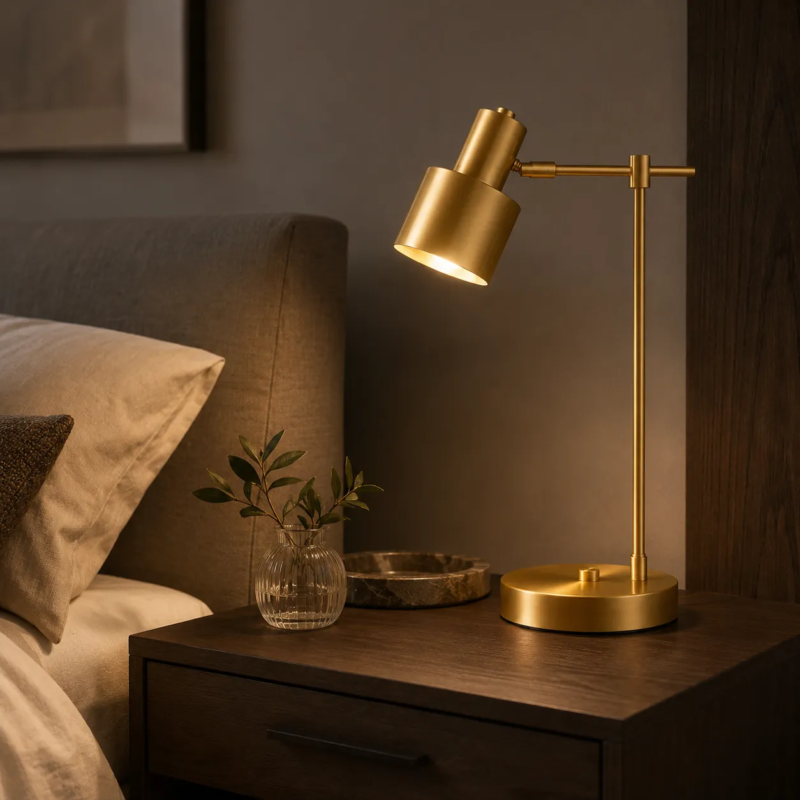
Position before increasing brightness
For reading, place the lamp to the side opposite the writing hand so the hand and arm do not cast a strong shadow across the page. The shade should hide the brightest part of the lamp from the seated viewer. For hobbies, medication sorting, or food preparation, aim light across the task at a shallow angle: this makes texture and raised edges visible without reflecting directly back toward the eyes.
Design Principle 2: Control Glare at the Source
Glare is a luminance problem, not just a brightness problem. A tiny exposed LED can look painfully bright even when the room is underlit because the luminous area is small and the contrast against its surroundings is large. Research on the aging eye links increased intraocular scatter with disability glare, which can reduce the visibility of nearby detail [2][4].
Choose fixtures that shield the source, diffuse it over a larger area, or allow the beam to be aimed away from direct view. Matte finishes near work surfaces are usually easier to manage than high-gloss finishes. Mirrors, polished stone, television screens, and glass tables should be checked from the actual seated and standing viewpoints, because a reflection may be invisible from one position and intrusive from another.
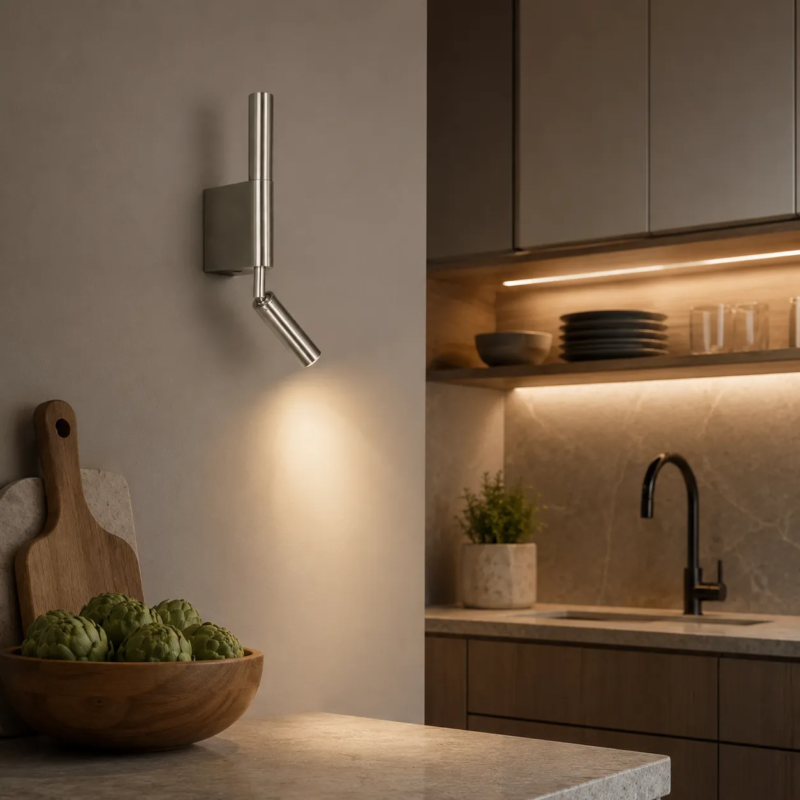
A simple glare check
- Sit and stand in the positions used most often.
- Look toward the fixture, then toward nearby glossy surfaces and screens.
- Adjust the head or shade until the source is hidden and the task remains evenly lit.
- If detail looks washed out, reduce the bright source or raise the surrounding ambient light rather than adding another exposed point source.
Design Principle 3: Build Smooth Brightness Transitions
A bright task area surrounded by darkness can be tiring because the visual system repeatedly adapts as the eyes move between the page and the room. The solution is a moderate ambient layer behind the task light. A diffused floor lamp, shaded ceiling light, or reflected wall light can lift the background level without creating a competing hotspot.
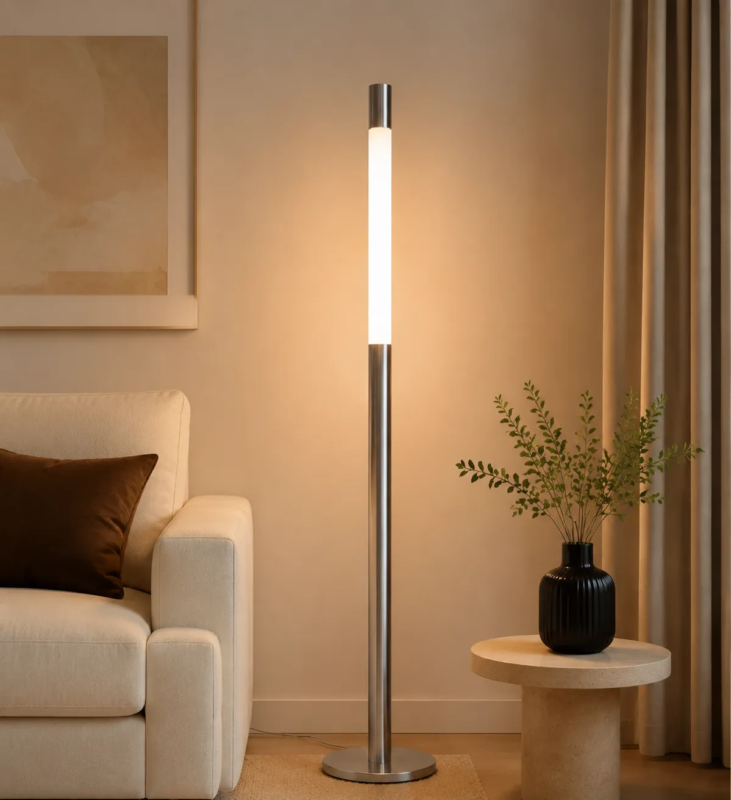
Uniformity does not mean flattening every shadow. Gentle differences help people understand depth and form. The goal is to avoid extreme jumps: a brightly lit kitchen opening into an unlit hall, a glowing bathroom mirror above a dark floor, or a reading lamp that becomes the only visible object in the room.
Design Principle 4: Make Routes and Level Changes Legible
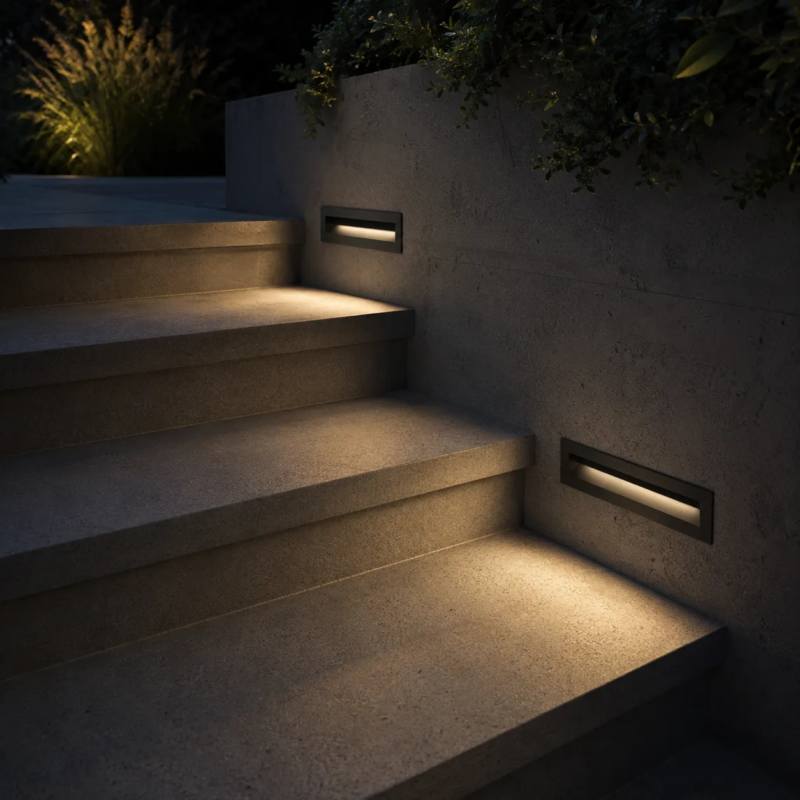
Hallways, stairs, thresholds, and bathroom routes deserve dedicated lighting because they are used during movement, often at night. The CDC advises good lighting in rooms and hallways, along with accessible switches or motion sensors, as part of home fall-prevention practice for older adults with vision concerns [5]. Lighting is only one part of fall prevention; handrails, uncluttered floors, suitable footwear, medication review, and eye care also matter.
Light the information, not only the space
- Reveal the tread edge. The boundary between adjacent steps should be visible from above and below; avoid shadows that hide the nosing.
- Keep luminaires shielded. Low-level lighting should wash the walking surface rather than shine horizontally into the eyes.
- Reduce delay. Place switches at both ends of a route or use well-tuned occupancy controls so the path is lit before the first step.
- Preserve contrast. A light strip cannot compensate for steps, rugs, and walls that all have nearly the same tone. Material contrast is part of visual safety.
Design Principle 5: Use Color Quality to Support Recognition
Color rendering affects how easily people distinguish food, clothing, skin tones, pills, wires, and household objects. Correlated color temperature describes the apparent warm-to-cool tint of white light; it does not by itself describe color fidelity. For color quality, look for credible spectral or color-rendering data. The IES TM-30 method evaluates fidelity and gamut using a broad set of color samples and provides more information than relying on CCT alone [6].
In practice, choose a stable, comfortable white light for the task and keep adjacent sources reasonably consistent. A neutral white can be useful for detailed daytime tasks, while warmer light may feel more relaxing in the evening. Personal comfort, existing finishes, and sleep schedule should guide the final choice. Avoid assuming that “cooler” automatically means “safer” or that a high Kelvin number guarantees better visibility.
Room-by-Room Lighting Priorities
Living room and reading chair
Combine a moderate ambient layer with an adjustable lamp close to the chair. Keep the shade below eye level when seated and place controls within easy reach. Illuminate the route to the chair so the bright reading zone does not sit inside a dark room.
Kitchen and dining area
Light counters from the front or side of the person rather than from directly behind, which creates body shadows. Check reflections in stone, stainless steel, and glossy cabinet doors. Add targeted light at preparation zones, sinks, cooktops, and labels instead of relying only on a central decorative fixture.
Bedroom
Provide a bedside lamp for reading and a separate low-level route light for nighttime movement. Controls should be reachable from bed and at the doorway. Avoid placing an exposed source directly in the line of sight when lying down.
Bathroom
Use even vertical light around the face and enough downward light to reveal water, bath edges, mats, and changes in floor level. Shield the source from mirrors and wet glossy surfaces. Fixtures in wet locations must have the correct electrical and ingress protection ratings for local code and installation zone.
Stairs, hallways, and entrances
Illuminate the full route before movement begins. Keep tread edges, thresholds, keys, locks, and door hardware visible. Motion sensors can help, but timing and coverage must prevent the light from switching off while a person is still on the route.
A Practical Home Lighting Audit
Evaluate the home at the times it is actually used. Daylight can disguise weak electric lighting, so repeat the audit after sunset. A handheld lux meter can help compare areas, but observation from the user’s real viewpoints is equally important because discomfort glare and reflections depend on direction.
- Map the important tasks. List reading, cooking, grooming, medication handling, stairs, entrances, and nighttime routes.
- Observe from eye level. Check every fixture while seated, standing, and lying down where appropriate.
- Look for missing contrast. Inspect tread edges, switches, handles, countertops, bathroom fittings, and objects with similar colors.
- Test transitions. Walk from bright rooms into halls and from indoors to outdoors; note moments when detail temporarily disappears.
- Adjust before replacing. Aim movable heads, relocate portable lamps, add diffusion, and change control settings before assuming more wattage is needed.
- Measure and document. Record useful settings and approximate lux values at task surfaces so future lamp or bulb changes can be compared.